It turns out that the trillions of bacteria in your gut do more than just help you digest food and produce vitamins.  They have strong connections to obesity and metabolism, and may even be the key to whether you are depressed or happy, healthy, or sick.

Dysbiosis is an excess of pathogenic or ‘bad bacteria’ in our gut.  Because one of the roles of our good bacteria is to crowd out the bad guys it’s important to ensure we make a conscious effort to promote healthy levels.

So what’s the big deal about gut flora when it comes to weight gain?

1. Oestrogen Metabolism…

An imbalance in our gut flora can influence the level of oestrogen that we re-absorb from the gut back into circulation.  A certain amount is normal but in excess we can start to experience oestrogen dominant symptoms.  Oestrogen is the hormone that gives us our soft feminine form and it can promote weight gain especially around the hips and waist if not in balance.  Other symptoms that may indicate oestrogen dominance include heavy periods, PMS, breast tenderness and low thyroid function.

2. Inflammation…

Pathogenic or bad bacteria have the potential to increase inflammatory molecules that have been show to increase risk of disease and disorders such as insulin resistance, diabetes and heart disease.  These disorders directly impact our potential to gain weight.  Inflammation is an attempt by immune system to clear out potential threats from the body and the immune uses a huge amount of energy leaving us feeling tired and unmotivated.  In fact a paper just came out in June 2019 in the journal Trends in Cognitive Sciences linking the reduced release of dopamine in the brain, the motivation to do things, and the presence of an inflammatory reaction in the body.  If we feel tired and unmotivated the likelihood is that we won’t feel like exercising!

It’s not all dreary though your good bacteria produce anti inflammatory compounds called short chained fatty acids when you consume fibre.  These compounds act as a source of energy for the cells lining the colon and help reduce the risk of the diseases I have listed above; insulin resistance, diabetes and heart disease!  Bottom line need to make sure we are feeding our good guys!!

3. Antibiotic use…. 

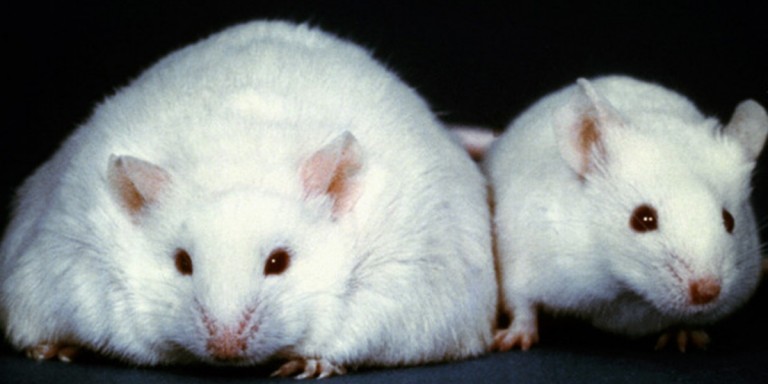
We know from studies on livestock that chronic use of antibiotics can promote weight gain and now more research on rats also shows antibiotic exposure disrupts gut microbiota and increases body fat.

Could this transfer over to humans?  It’s entirely possible as research shows children who regularly take antibiotics gain weight faster, demonstrating their is a link…   However this effect seems to be cumulative, so instead of never taking antibiotics at all – just use them when they are absolutely needed.

4. Firmicutes versus bacteroidetes…

Firmicutes and Bacteroidetes are two major phyla of bacteria in human gut microbiota. The ratio between these 2 bacteria groups is correlated with obesity and other diseases.  Most studies have shown that the more Bacteroidetes you have (compared to your Firmicutes), the leaner you will be.  Firmicutes are not bad per se but they work by helping to increase the amount of energy we extract from our food.  This can then lead to weight gain if that extra energy is not used up.  To shift the ratio more in favour of bacteroidetes increase your intake of plant fibre especially beans and vegetables.

Can a simple shift in gut bacteria be enough to kick off the weight loss process you might be asking!??  Animals studies say it may be possible… By transplanting bacteria from the intestines of obese humans into mice we can see it can actually trigger obesity in normal-weight mice.  In a study, Dr. Gewirtz at Cornell University showed that the weight of mice could be changed by over 15 percent just by shifting their intestinal bacteria.  This has also been demonstrated in humans where people who have gotten a faecal transplant from someone over weight, the person receiving the transplant gained weight without any change in their diet.  So what would a 15% increase look like… well in a female weighing 9stone it would equate to a 1 stone and 5lb increase; pushing them into an over weight category.

How modern life screws up our gut bacteria…

Unfortunately, several features of the modern lifestyle can contribute to deminished gut flora:

  • Antibiotics use
  • Medications like the contraceptive PPIS, THE pill and steroids.
  • Diets high in refined carbohydrates, sugar and processed foods which encourage growth of pathogenic flora ‘bad bugs.’
  • Alcohol is a natural sterilising agent; not good news for our ‘good bacteria!’
  • Diets low in fermentable fibre to provide food for our ‘good guys.’
  • We can only assume that chemicals added to drinking water and food have potential to damage the growth of our gut flora.  More evidence is coming out this year on the negative impact of preservatives on gut flora and I’m sure pesticides can’t be good either!
  • Infection is another factor, such tummy bug or food poisoning.  It can take months for the gut to recover after an infection.

How Can we Positively Influence our Gut Bacteria Levels? 

  1. Introduce fermented foods into the diet like kefir, sauerkraut, kimchi, miso and raw apple cider vinegar.  Remember good bacteria helps to crowd out the bad guys!
  2. Diversity of gut microbes is key when it comes to a healthy gut and kefir is one of the most diverse of all the fermented foods containing up to 2,000 strains of beneficial microbes.
  3. Reduce sugar and processed foods – that’s a given when it comes to any health issue!!
  4. Increase your vegetable intake using, soups, salads, smoothies, homemade coleslaws and cover half your plate with fibrous vegetables at dinner time.  Choose organic produce where possible to avoid toxic pesticides residues.
  5. Increase legumes!  Peas, beans, lentils and hummus are an amazing source of fibre to help fertilise your good bacteria.
  6. Drink pure water.  Nowadays water filtration systems are much more accessible.  If you want to remove chlorine and fluoride as well as heavy metals you want to look out for a reverse osmosis system.  Boiling water or jug filters just won’t cut it when it comes to removing these chemicals.

I hope you enjoyed reading my article and enjoy adding in some gut loving foods into your diet 🙂

There’s almost an emotional response to giving up something we love so much!!  Even thinking about it can cause anxiety because of its addictive nature!!!

But it doesn’t have to be difficult… First of all it’s important to change your way of thinking… instead of thinking about giving up sugar think about including more healthy and enjoyable foods into your diet this will naturally reduce cravings!  This way you don’t have to battle with your will power too much!!!

  1. Don’t let your blood glucose levels fall too low – Yes I said glucose, which is the same as sugar but the key here is maintaining stable blood sugar levels and not letting them climb too high or too low.   Will power is lowest when blood sugar levels are low and this is the key to controlling cravings!!!   Some of the worst foods for promoting a blood sugar roller coaster are actually sugar and refined carbohydrates.  This is because of the sugar crash we experience after consuming them.  When this occurs insulin has taken the sugar from our blood stream and stored it as fat –> leaving us with low blood sugar.  Sugar and carbohydrates also promote the release of ghrelin “The Hunger Hormone” so…. the more you eat; the more you will crave!!!
  2. Don’t skip breakfast, especially if you suffer from fatigue –   If you’re running on empty all morning this puts strain on the adrenals to pump out cortisol.  Cortisol is the stress hormone and we all know that when we feel stressed we’re more likely to make unhealthy food choices!  You’re going to eat those calories at some point during the day at least at breakfast time you’ve a greater chance of it being something healthy!  Skip cereals which are overly processed in favour of whole foods with a serving of fat and protein to keep you satisfied all morning! 
  1. Include more healthy fat – Fats are excellent for maintaining stable blood glucose levels. But this doesn’t apply if it’s eaten with large amounts of sugar.  When you’re designing your plate include 2 tablespoons of healthy fats and some protein to help stabilise blood sugar levels.  Green vegetables are great addition because they are naturally low in carbs!  Healthy fats include: coconut oil, olive oil, avocados, nuts and seeds, organic eggs and oily fish.
  2. Ditch the caffeine – Caffeine has a big impact on blood sugar;  It messes it up and increases the stress hormones both of which have a negative impact on cravings and your waistline!!!  Replace coffee with herbal teas and add a teaspoon of coconut oil if you need a boost of energy
  3. Limit Fruit  Yes fruit has its health benefits but it does contain sugar in the form of fructose.   If you’re trying to reduce sugar and avoid cravings eliminate fruit for the first 5 days of clean eating and then include small amounts of lower sugar fruit like apples, plums or berries.
  4. Include healthy snacks – having some healthy snacks to hand if your blood sugar begins to drop will make sure you don’t succumb to cravings!!  Keep a snack size bag of nuts in your handbag so you don’t get caught out when you’re out and about!
  5. Get organised  –  Simple and effective – clean out your fridge, get rid of temptation out of the house and stock up with healthy and tasty supplies!

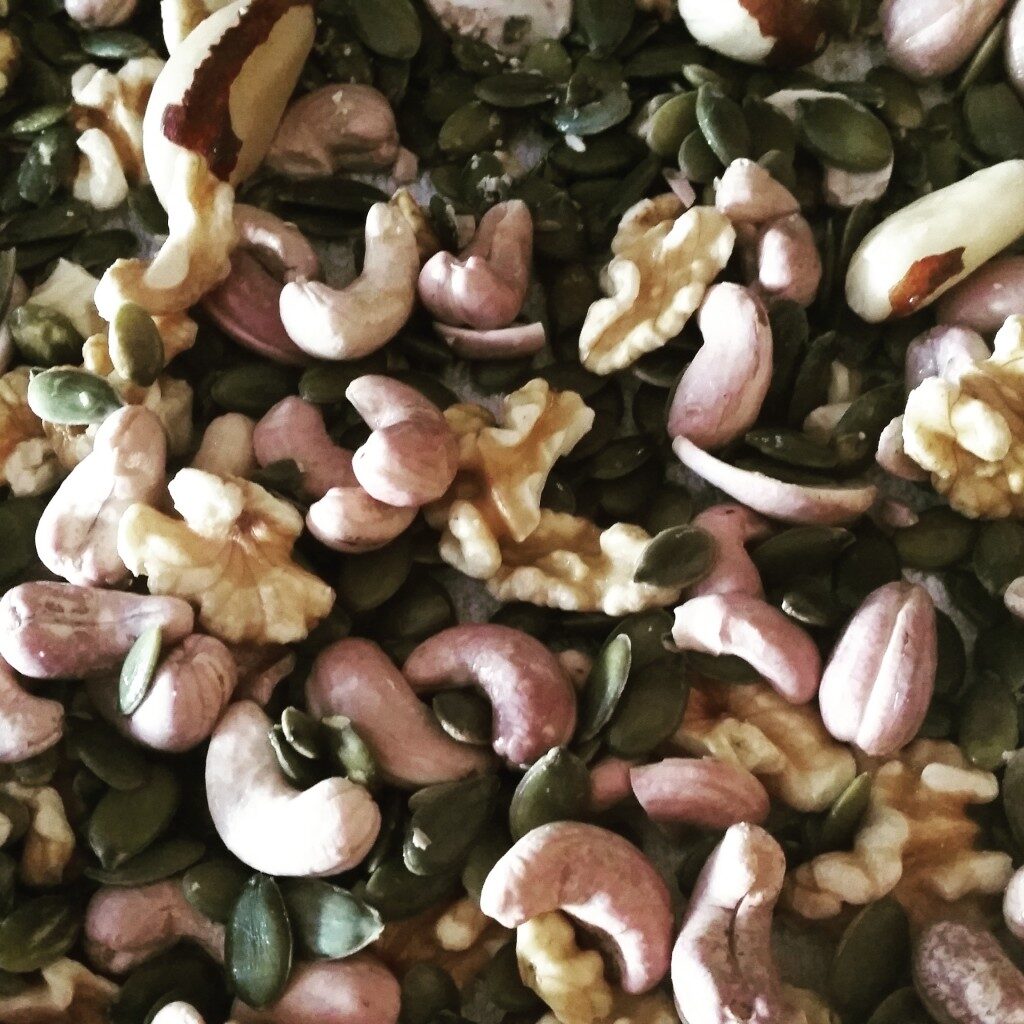
Healthy fats are easily damaged at high cooking temperatures. That’s why it’s always better to bake nuts and seeds at a lower temperature for longer instead of blasting them at high heat for a shorter period.  Soaking nuts activates the plant enzymes making them easier for the body to digest them and extract the nutrients.  Like grains, raw nuts (and especially raw seeds), contain moderate levels of phytic acid and enzyme inhibitors.  Soaking the nuts and adding a little salt to the water helps break down these problematic substances that bind to minerals and can cause problems in the gut.

I really like the nuts in Lidl because they taste so fresh and they come in a resealable pack.  Nuts so be crunchy and not withered and chewy and you can keep them fresh by storing them in the fridge once opened.  Polyunsaturated fats are not heat stable so even the temperature in your kitchen can cause them to spoil and go rancid!

Start by soaking your nuts over night in some water and a good pinch of salt.  For some reason my cashews turned pink when I soaked them!

Once your nuts are rinse and dry them and place them into a blender and blitz for no longer than 10 seconds. If you don’t have a blender then you can place the nuts in a plastic bag and bash them with a rolling pin.

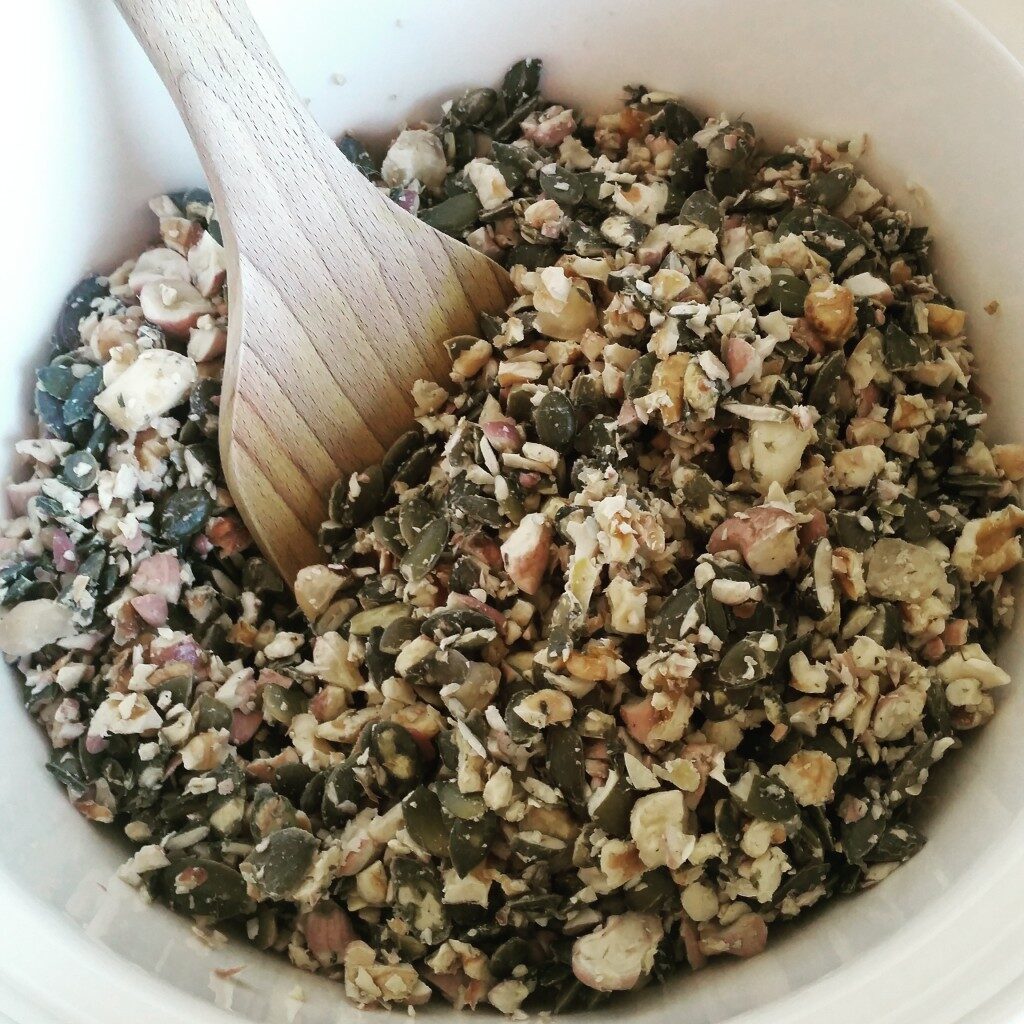
Add the blended nuts to the bowl with your granola ingredients and mis well…
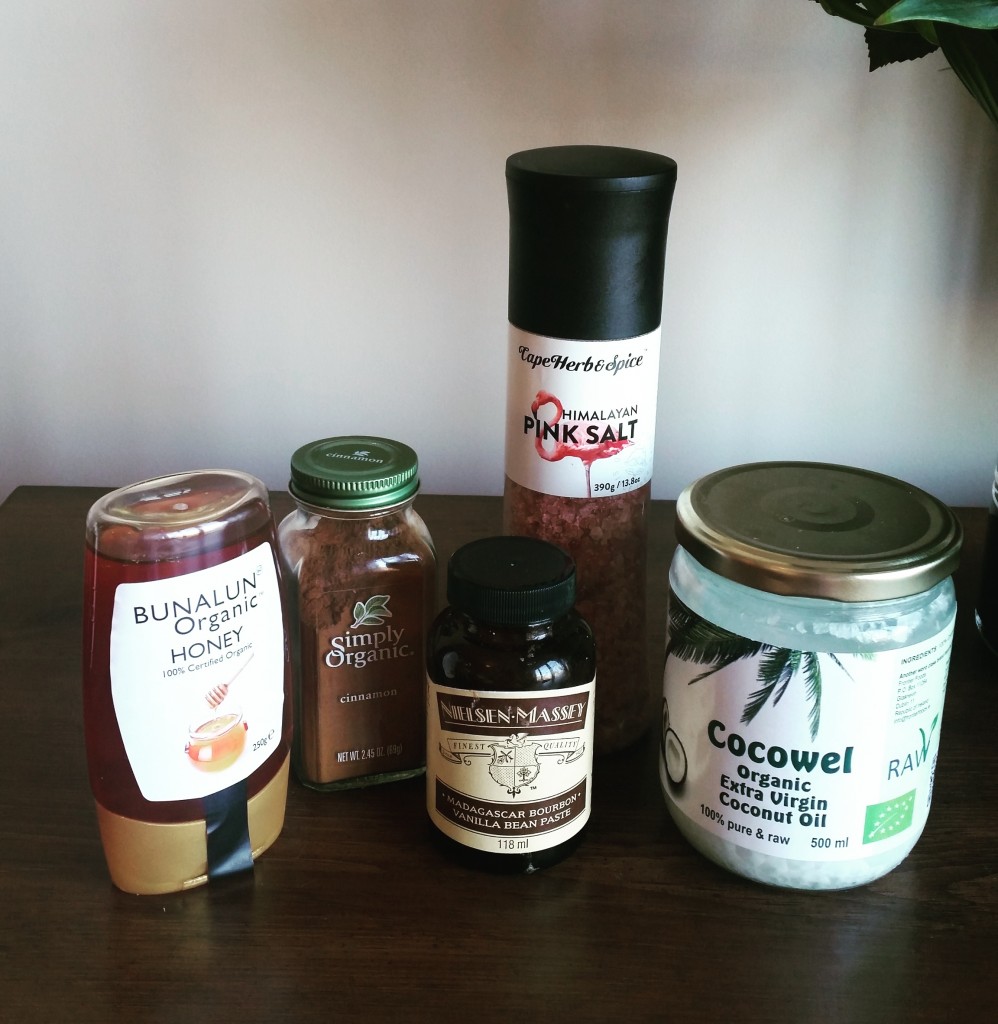
Ingredients:

  • 200g of Walnuts
  • 200g of Cashew nuts
  • 200g of Brazil nuts
  • 100g of Pumpkin seeds

(All available in these pack sizes in Lidl!)

  • 1 pinch of salt
  • 1 tbsp of vanilla paste
  • 1 tsp of cinnamon
  • 3 heaped tablespoons of coconut oil
  • 2 tbsp of honey

Directions:

  1. Drain and rinse the soaked nuts and dry them off using a tea towel or some kitchen paper.
  2. Preheat the over to 90°C
  3. Place the walnuts, brazil nuts, cashews and pumpkin seeds into a blender and blitz for no longer than 10 seconds. If you don’t have a blender then you can place the nuts in a plastic bag and bash them with a rolling pin.
  4. Add the nut mix to a large bowl and drizzle your honey, vanilla and melted coconut oil over. Mix well, coating all of the nuts evenly.
  5. Sprinkle the cinnamon and salt into the mix, ensuring you stir thoroughly to coat all of the nuts.
  6. Line your baking tray with some parchment paper and cover the tray evenly with the granola mix. Bake for 4-5 hours in the preheated oven.  You’ll need to stir the granola a couple of times during this time.
  7. The granola is ready once all nuts have a light and crispy texture.  If you take them out too soon some of the bigger nuts may still be a bit chewy so return the tray to the oven for another 30 minutes.  Don’t worry the nuts won’t burn this is a slow dehydration process!
  8. Once the granola has finished baking, remove it from the oven and allow it to cool completely before storing it in an airtight container.
  9. Serve with some fresh fruit and greek yoghurt.  You can also serve with tinned or carton coconut milk for a dairy free alternative 🙂

I can’t believe I waited so long to taste Golden Milk! Reminiscent of a chai latte, golden milk is a healing drink made turmeric, cinnamon and ginger which all have strong anti aging and anti cancer properties!  This drink would be super for anyone with hormonal, pain or skin issues! 

Ingredients: (double ingredients if making for 2)

  • 3 tbsp of full fat tinned coconut milk
  • 1/2 tsp of turmeric
  • 1/4 tsp of cinnamon
  • 1/4 tsp of dried or fresh ginger
  • 1 pinch of black pepper (increases absorption of the turmeric)
  • 1 tsp of raw honey of maple syrup
  • If you want to make this super low carb you can add a couple of pinched of stevia!

Directions

  1. Add 3 tablespoons of tinned to coconut milk to a mug and top up with boiling water. Stir into a liquid.
  2. Add in the rest of your ingredients and then transfer into a nutribullet or high speed blender.
  3. Blitz for 30 seconds and then transfer into a saucepan and bring to the boil (about 3-5 minutes)
  4. Poor into a mug and drink immediately.

**Note be careful with your hands and clothes because turmeric stains!!!

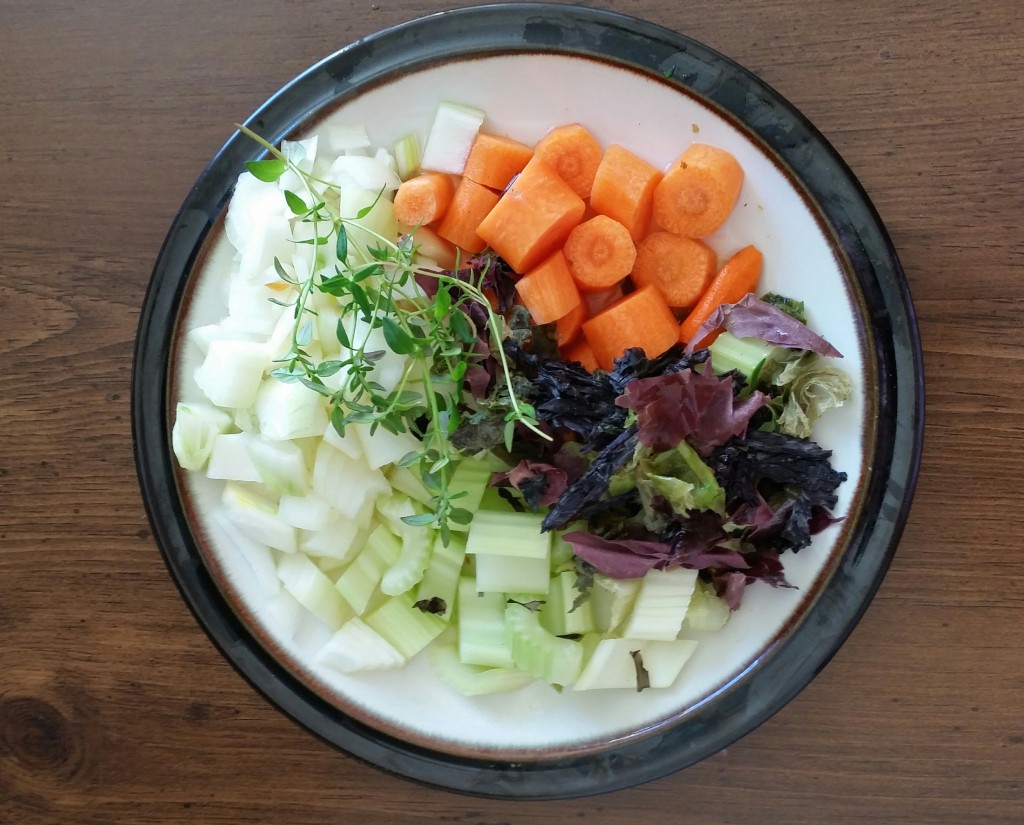
Bone broth has some amazing health benefits ranging from getting rid of wrinkles, easing arthritic pain to even healing leaky gut!!  The source of these benefits can attributed to the high quantities of collagen that are so healing for the entire body.  Collagen is the basis of all tissue; bone, teeth, skin, muscle and joints making bone broth the perfect drink for everyone ranging from toddlers to athletes!!!   It has become the latest trend in healthy living!

Bones are the mineral store of the body and bone stock is packed full of these healthy minerals and collagen which help to keep our own bones and teeth in optimum condition as well skin elasticity. There is no comparison to the store bought versions which lack gelatin and often contain MSG. The gelatin contains fat-soluble vitamins and it helps the body to absorb the minerals. In times of sickness a cup of stock is useful for any colds, flues or tummy problems… it also helps repair a leaky gut! J

I recommend investing in a slow cooker if you’re going to start making your own broth. You can pick one up for between €30 -€50 and they can be left on over night without worrying!

Ingredients:

  • Leftover bones and joints from an organic or free-range animal. Break the bones to release marrow. (Butcher can do this for you in bigger bones)
  • 4-5 litres of water (bottled is best as tap water contains chloride and fluoride)
  • 1 large onion
  • 2 large carrots
  • 2 celery stalks chopped roughly
  • 2 table spoons of apple cider vinegar
  • 2 cloves of garlic added in the last half hour of cooking
  • Herbs like parsley, rosemary, basil, thyme or oregano
  • 1 tablespoon of dried seaweed flakes will increase nutrient value.

Directions

  1. Place the bones into the slow cooker and pour in bottled water to cover the bones and add in the vinegar. Let sit for 1 hour in the cool water. The acid helps make the nutrients in the bones more available.
  2. Roughly chop and add the vegetables to the pot. Add any salt, pepper, spices, or herbs that you like. (Except if using parsley and garlic they are added near the end!)
  3. Bring the broth to a boil. Once it has reached a vigorous boil, reduce to a simmer for between 4-24 hours. This will vary depending on how much time you have yourself but the longer you leave it the more nutrients will be in the stock!
  4. During the first few hours of simmering, you’ll need to remove the impurities that float to the surface. A foamy layer may form and it can be easily scooped off with a big spoon.  Free range and organic animals will produce much less of this than battery animals.
  5. When it’s finished strain the liquid discarding the bones and vegetables and only keeping the liquid. Don’t be tempted to remove the gelatin or fatty globules these contain most of the nutrients and they will be the tastiest part for making soups and gravies!
  6. Homemade Broth will last 3-4 days in the fridge or you can freeze it using a silicon muffin tray to make your own homemade stock cubes!
  7. For illness, autoimmunity or leaky gut I recommend 1 cup every evening before bed.  This will support the body to do repair work while you’re asleep!

I wanted to share my experience with you having a Colonic Hydrotherapy treatment! As a Nutritional Therapist I like to try out things myself before recommending them to a client… I was feeling very nervous because I really didn’t know what to expect! Taking the unknown factor out of it will hopefully encourage more people to avail of this wonderful treatment… Being a nutritional therapist I am very comfortable talking about bowel movements daily with clients so I thought I would be the perfect candidate to write a blog post on the whole experience!

After arriving to clinic I was welcomed into the waiting area and invited to fill out a consultation form; while listening to some soothing music in the background.  Antoinette was my therapist, she is a fully qualified nurse and very professional and reassuring. She explained all utensils were disposable and hospital grade and detailed everything that would happen during the treatment.

She directed me to the bathroom where I was given disposable undies, Velcro towel wrap and some cosy socks so my feet wouldn’t get cold! I thought this was a lovely touch!!

I returned to the room where I was directed onto the bed and she began to work her magic. The most uncomfortable part was getting the tube inserted but once it’s in you can’t really feel it.   She flushes the bowel with warm water and you let her know when you’re feeling an urge to pass a movement; at that point she releases the water again and this relieves the urge to go!!  She repeated this several times changing the water temperature. During the treatment I was giving the option of having a toilet break which I gladly accepted… This gave me the opportunity to empty my bowel while I read one of her little books on positive affirmations!

When I was done I returned to the bed for the rest of my treatment. I was curious to know what was actually coming through the tube but she said not much at all as I had cleared most of it out during my toilet break (which I was kind of relieved about)!!

She massaged and palpated my abdomen and found tender areas of inflammation, which she informed me was around my gall bladder and liver. This is very interesting to me because I have suffered from hormonal issues for many years.   As a nutritional therapist I understand the liver and bile is what removes excess hormones, if this system is not functioning optimally it can cause a build up excess hormones in the system!

She finished off my treatment with a coffee enema and explained the amazing benefits! She informed me she was using the Gerson Therapy brand of coffee; this is used in the protocol for the Gerson Cancer treatment. Amazingly a coffee enema can speed up liver function by up to a massive 600% (according to Dr Gerson).  It helps eliminate toxins and bile by stimulating the liver and gall bladder.  During the coffee enema I felt an amazing feeling of Euphoria – I don’t usually drink coffee but if that’s what people are experiencing then no wonder it’s addictive!!

After the coffee enema she flushed out my colon for the last time to help remove any bile residue. She felt my tummy again and it didn’t feel as tender as before – this hopefully indicates some of the pressure was relieved from my gall bladder!

Once the treatment was finished I sat down with Antoinette and she gave me a cup of warm herbal tea and we discussed my follow up recommendations. I must say it was lovely to be getting advice for change from giving it!! She recommended magnesium, a probiotic and a castor oil wrap which I’m really excited about trying out!!

I was really happy with the treatment and couldn’t recommend Antoinette more highly!  You can book a consultation with her in her clinic in Westside Galway.

I paid for my session and I did not receive any gratuities for writing this blog it was just a record of my own experience for anyone who is interested!

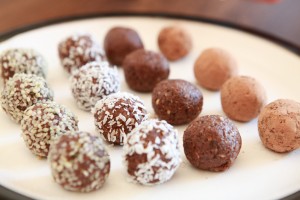
This Dessert is full of healthy fats, vitamin E, magnesium, zinc and iron.   All amazing nutrients for your hormones making this perfect for ladies when they are craving chocolate at a certain time of the month!!

Serves 2

Paleo Friendly!

Ingredients

  • 1 large ripe avocado
  • 2 tbsp of raw cocoa powder
  • 2 tbsp of tinned coconut milk – the creamy part!
  • 2 tsp of honey or maple syrup
  • 1 tsp natural vanilla extract
  • 1 tsp of Maca (this is optional but it gives it a lovely flavour!)
  • If you want to increase fibre content add 1 tbsp of chia seeds, they help the mousse to set nicely.
  • Optional toppings: flaked almonds, strawberries, cocoa nibs, grated dark chocolate

Directions

  1. Add the avocado and coconut cream to a large bowl and mash together with a fork.
  2. Add the cacoa powder, maca, chia seeds, vanilla extract and honey.
  3. Mix the dry ingredients into the wet and then finish off with a hand blender to produce the creamy mousse consisitency.
  4. Transfer the mousse to individual bowls and store in the fridge for 20 minutes to set or until ready to eat.

One cup of plain kefir contains around 11 grams of high-quality protein, including all eight essential amino acids, along with 30 percent of the daily value for calcium and a blast of tummy-friendly probiotics. The complete proteins in kefir are partially digested and therefore more easily utilized by the body. Plus, it’s low in lactose, which means it’s generally a safe dairy option for people with lactose intolerance.

Ingredients:

  • 200-300ml of Kefir or Glenisk Strained Greek yoghurt if you can’t get your hands on Kefir
  • 1/2 ripe banana
  • 6-8 frozen strawberries or you can also use raspberries.
    (I like frozen berries as they make the smoothie nice and cold)
  • 4 dates
  • 1 heaped tbsp of ground almonds
  • 1 heaped tbsp of cashew nuts
  • Top up with 100-200 ml of water or up to the max line if you’re using a nutribullet

Directions:

  1. Place the kefir in first as when you put the dry ingredients in first they tend to stick to the sides!
  2. Add the rest of your ingredients and blend until smooth
  3. If you’re making this smoothie as a snack or meal away from training, I would recommend you exclude the dates and add:
  • Half an avocado
  • 2 frozen spinach cubes
  • 1 tbsp of chia seeds

These additional ingredients stop the sugar entering the blood stream too fast and causing weight gain! After exercise all glucose is used to restore muscle glycogen so it’s never stored as fat!

Hope you enjoy it!

Niamh x

These little crisps are bursting with nutrients, low in fat and so easy to make!

Ingredients

  • 1 bag of Irish Kale will do 2 oven trays
  • 2 tbsp of red onion pulp (1 small red onion grated)
  • 2 tbsp of olive oil
  • 2 tbsp of nutritional yeast
  • 2 tbsp of whole hemp or flax seeds – these add a lovely crunch!
  • 1/2 – 1 tsp of vegetable boullion – (optional) You could also use some sea salt if you don’t have boullion.

Directions:

  1. Preheat the oven on it’s lowest temperature 80 °C to dehydrate the crisps.
  2. One bag of Irish Kale will fill 2 trays
  3. Tear the kale into bit size pieces removing the tougher stalks.
  4. Wash the leaves and pat dry really well.
  5. Once dried add the leaves, olive oil and red onion pulp and mix well ensuring all leaves are coated.
  6. Sprinkle with nutritional yeast flakes, vegetable boullion, and and mix thoroughly.
  7. Layout the kale pieces on a baking tray in a single layer.
  8. Bake at 80 °C for approximately 15-20 minutes until they are completely dehydrated like a real crisp!  If you’re using 2 trays it will take longer 30-40 minutes but make sure to check them after 20!
  9. Store in an airtight container as they will go stale like real crisps if left out uncovered – usually they are not around that long!!

Makes around 10-12 balls depending on size.

Ingredients:

  • 1 cup of Medjool Dates
  • 2 tbsp chia or flax seeds
  • 1 cup of raw nuts I used pecans and walnuts from Lidl as the are really fresh and great value! (Tip: Soaking nuts over night will activate their enzymes making them easier to digest and more nutritious)
  • 1 scoop of protein powder vanilla or chocolate flavour
  • 1 tsp vanilla extract
  • 2 tbsp of unsweetened almond milk
  • 2 tbsp coconut oil – melted
  • 1 tsp raw cacao powder
  • Pinch of Salt
  • Desiccated coconut flakes to coat

Directions

  1. Process the nuts in a food processor until chopped and place in a bowl.
  2. Process the rest of the ingredients, and slowly add the nuts back in.
  3. If the mixture is too dry add some more coconut oil.
  4. Form mixture into balls and roll in the coconut pieces, seeds, cocoa powder or just leave plain!
  5. Place in the fridge for half an hour to firm up & enjoy!